Decent price, kept me updated with progress, well packed (and they chucked in some sweeties!) and good delivery. Great service overall.Read on Google
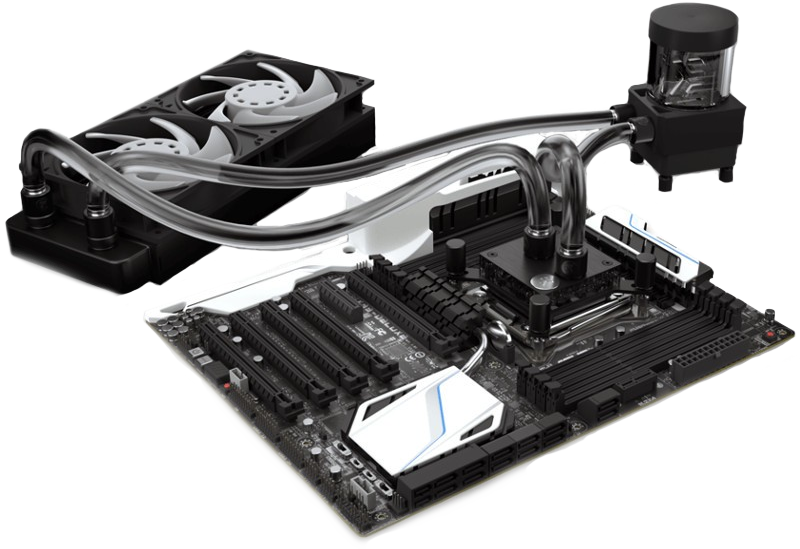
At Overclockers UK, we take a lot of pride in our systems, especially the water-cooled ones. They portray a sense of beauty that is rarely matched and each configuration offers a unique look and feel due to the sheer amount of possibilities that you're presented with when undertaking a water-cooled build. We will explain how water-cooling works and provide an insight into the choices available, should you wish to create your own liquid cooling loop in your rig!
There are many different ways to keep your PC cool; some more efficient than others. With the ever-growing need for more effective and extreme cooling solutions due to the production of more powerful computer systems, water cooling – or liquid cooling - is one solution to tackling heat output that has boomed over recent years.
Water cooling adds liquid to your computer. Sounds like a bit of an odd scenario, right? We understand that the thought of liquid plus electronics can make people unfamiliar with the concept a little confused so let us explain!
The actual fluid is contained within its own system, referred to as the water loop. None of the liquid actually touches any of the electronic components, but rather special heatsinks called water blocks, which sit atop any of the components that you wish to water-cool. Essentials within the water-cooling loop include a radiator to disperse heat accumulated by the fluid passing over the surface of the water block, a pump to push the liquid around the loop, and a water-cooling reservoir to make sure the pump is always filled with fluid. There are many other components that can be added to optimise or expand upon your water-cooling loop, which we will explain below, but these main liquid cooling parts are what form the basis of your PC water cooling system. There are a few different approaches to PC liquid cooling, ranging from simple all-in-one water coolers which require zero maintenance over the standard cleaning of fans, to complex multiple water loops in an uber rig.
As with building any PC system, care and attention must be taken when building a water-cooled rig. The main difference is that a little bit more planning is required to figure out what parts you do/don’t need. Choosing the right case is arguably the most important aspect and should be your first step, taking in to consideration the amount of cooling performance that you’re looking for. Different cases will support different sizes and quantities of radiators. If you’re looking for a simple CPU-only loop, then you may only need a fairly standard case which can accommodate a single fan radiator at the exhaust position, or a dual fan radiator at the top for a little extra cooling performance. However, if you’re building a more complex water-cooled PC with multiple graphics cards, motherboard water-cooling, and large tube reservoirs for example, you will need a purpose-built PC case for water-cooling with multiple large radiators mounting positions and ample interior space for the swath of components that will be used.
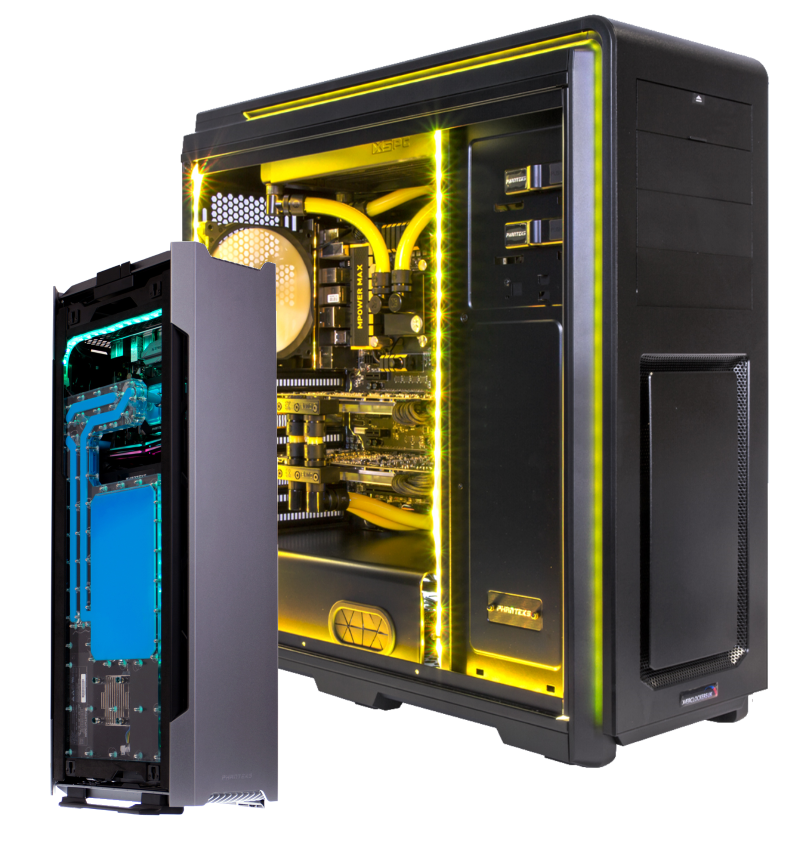
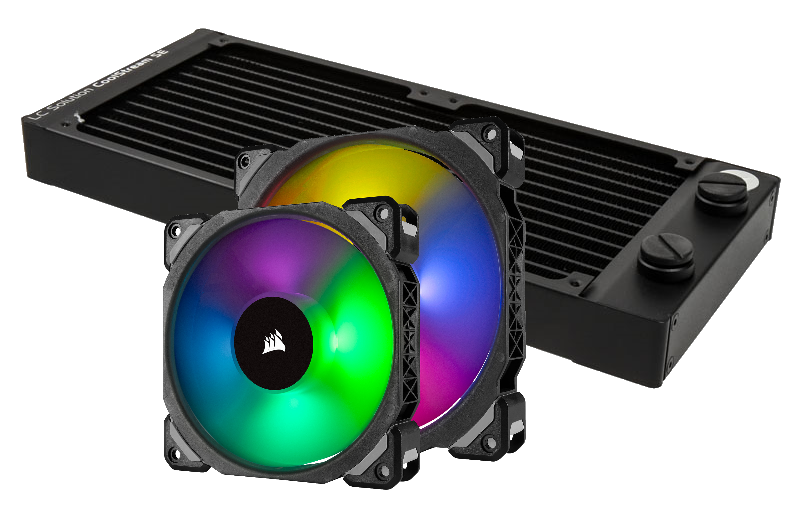
Now that you have chosen your case, you need to ascertain what radiators to you need and how many. These will determine the level of heat dissipation - with the help of static pressure fans – that your loop will have. The more power your components need, the more heat they will output so make sure you have enough radiators to keep those temperatures in check. Most water cooling radiators take either 120mm fans or 140mm fans although there are a few less common types available such as 180mm and 80mm. As a general guideline and using the typical 120mm or 140mm sizes, we would recommend the following radiator space for the main components:
So using the above as a general indication, we can say that for example: a PC system with a water cooled CPU and GPU would require at a minimum of one triple radiator OR a single rad and a dual rad (if your case cannot mount a triple radiator) - simple!
When it comes to picking fans for your radiators, you only need to make sure that they have good static pressure – to effectively push the air through the fins of the radiator. They can also be mounted to both sides of most radiators, in what is called push/pull configuration which increases airflow yet again. Though when doing this, take into consideration the extra 25mm (standard fan thickness) added.
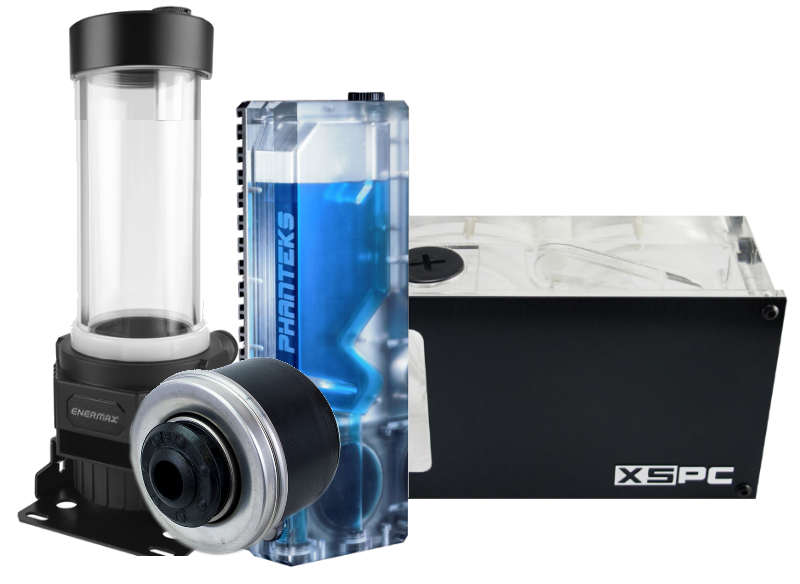
The pump is literally the heart of your water cooling loop and there are a few different designs available although the main ones are the Laing D5 and DDC pumps. They all do the same job of course just with the main differences being that the D5 has a higher flow rate and the DDC has a higher pressure head. The D5 pump is suitable for most applications but if you are building a complex loop with many tight bends, you may want to opt for the DDC for its higher pressure.
The reservoir should always be placed just before the pump in a liquid cooling loop, ideally in a position that allows the water cooling fluid to fall into the pump inlet when filling your reservoir. This makes filling and bleeding your loop – the process of removing air pockets – much easier. If you opt for a pump/reservoir combo unit, the process is easier again, as this way, you only need to mount the combined unit.
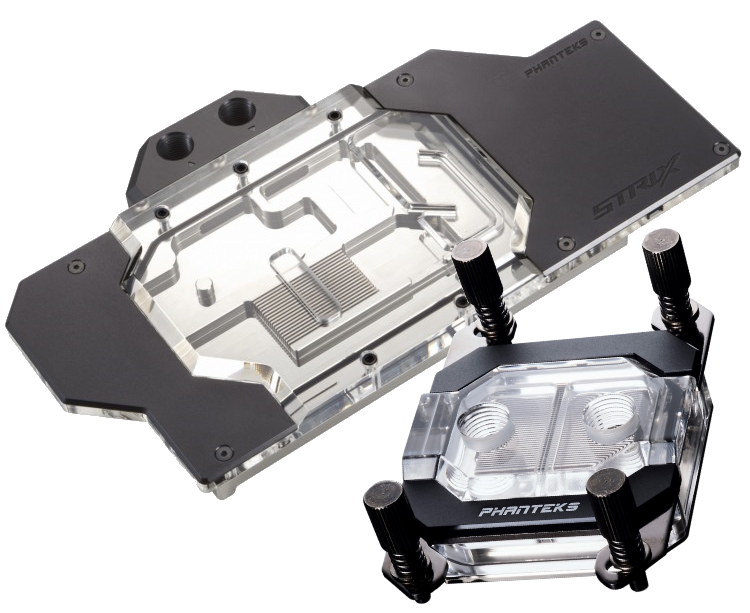
Choosing the right CPU block is very important as you need to match the mounting system to your motherboard’s socket. Most CPU waterblocks now come with Intel standard, Intel Enthusiast, and AMD standard mounting brackets so you’re usually covered.
Intel water blocks cover:
Certain Intel enthusiast CPU’s like the X99, 2011 and 2066 may need a special block which will be detailed in the tile and description.
AMD blocks cover:
Some AMD blocks have been designed to work with specific sockets i.e AM4 and threadripper which will be shown in the description or title of the product.
CPU blocks have designated in/out flow ports and are indicated as such either on the CPU block itself or within the installation manual.
Depending on the loop that you are installing, you may be water cooling your graphics card(s) too. If so, you need to make sure that the GPU you want has a water block available for it. If it is a ‘reference design’ PCB – which you can find out by using this handy Cooling Configurator tool from EK – then you should be able to find a water block available for from most water cooling manufacturers such as EK, XSPC, Aqua Computer along with others and the product name of the water block will have the graphics card numbering that it is meant to be used with. For example, EK use a naming system such as EK-FC1080 GTX, which tells us that these blocks are to be used with NVIDIA GeForce GTX 1080 reference design graphics cards. If your graphics card is non-reference however, you’ll need to first make sure that a GPU water block exists for it. At present, only EK produce water blocks for non-reference graphics cards and even then, not all are accommodated for as there are just too many so use the EK Cooling Configurator to see if you’re in luck.
Note: Most graphics card water blocks have I/O ports on the front AND the back to allow for the best loop management possible. Remember to block off any unused ports with the stop fittings provided (usually 2).

The only real thing you need to keep in mind when picking fittings and tubing for your liquid cooling loop is making sure that all your diameters match. All the different numbers can look like a bit of a minefield to a beginner in water cooling but as long as you match the inner and outer diameters across all of your fittings and tubing, you won’t have a problem. Chosen some 13/10mm tubing? – Pick up some 13/10mm compression fittings!
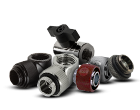
Hardline tubing or acrylic tubing: A level up in style and aesthetics and takes a little practice to get right when it comes to bending the acrylic tubes (or you could select easy mode and use angle fittings) but the same rule applies. Just match the outer diameter measurement of the tubing to the outer diameter listing on the hardline fittings and you’re all set.
With this information, you should hopefully feel at ease with giving water cooling a go for yourself and truly enjoy the benefits that it brings. We’ll explain each part in greater detail within its relevant category so you can learn even more about custom liquid cooling your PC!
Did you know we run our very own Overclockers UK blog? Check out this post exploring how to water-cool the latest 12th generation Intel Core Processors.
Read MoreWater cooling is one of the thermal solutions you can employ in your gaming PC. It is used to keep hardware such as CPUs and graphics cards cool. Depending on your PC case, you can configure custom water-cooling loops or equip your gaming PC with All-in-One (AiO) hardware.
In its simplest form, water cooling works by drawing the heat away from hard-working components, funnelling said heat into radiators, and then venting outside the system via fans. The liquid in water-cooling loops is conductive and how the heat is moved around your system.
Most commonly, water-cooling is used to maintain the temperature of your CPU. More complex loops include waterblocks for graphics cards or motherboards. In certain PC cases, you can equip custom blocks to boost the overall thermal performance.
Custom water-cooling systems require a lot of knowledge and maintenance. If you are just starting out with water cooling, then AiO loops are a fantastic place to start. As your confidence with hardware and maintenance grows, you can configure your loop down to each individual fitting.
The general rule of thumb is, the harder your PC works, the more cooling potential it needs. With AMD Threadripper CPUs and top-of-the-line gaming PCs, water-cooling is the most efficient way to keep your PC cool. With entry level gaming PCs, air cooling is effective, but if you value quieter performance then water-cooling is the way to go.
Overclockers UK not only offers next day delivery on thousands of products but also stocks exclusive brands from cutting-edge manufacturers including AMD, Intel, Asus, Gigabyte, Team Group and an ever-growing range of ultimate performance overclocked elite-tier hardware approved by 8 Pack.
Whether you are after advice, product information or even aftersales support we are here for you. Overclockers UK offers unparalleled customer service which is available across multiple platforms including telephone, social media, email, webnotes, live chat, and even a dedicated section on Overclockers forum. We even offer a 3 year warranty on our own PC's.

Overclockers UK are rated one of the top PC, hardware and peripheral retailers in the country. From premium products to a personal shopping experience. You can trust us to deliver an unbeatable 5-star service.

Sign up to our weekly newsletter and get the latest news, offers, and deals directly to your inbox. Don't worry you can unsubscribe at anytime.
Our customers know our services and this is reflected in the rating they give us. Leave us your opinion and help us to improve it.
